It's super easy to use and has everything you need to bring your ideas to life.
This Figma 101 guide will help you learn Figma step-by-step, even if you have zero design experience.
We'll cover everything from setting up your account to mastering the essential tools. Get ready to unleash your creativity!
Setting Up Your Figma Workspace
Alright, you're ready to jump into the world of Figma? Fantastic! Let's get your workspace set up. It's a piece of cake, trust me.
Creating a Figma Account
First things first, you'll need your own Figma account. Think of it like your secret headquarters, where you'll create awesome designs. Here's how you get one:
Go to the Figma Site: Open your web browser (like Chrome or Safari) and type in "figma.com." It's just like visiting any other website, but this one is all about design!
Click "Sign up": You'll see a big button that says "Sign up" in the top right corner. Go ahead and click it!
Enter your email: Just type in the email address. This is how Figma will stay in touch with you.
Choose a password: Make sure it's a strong one that you can remember! This keeps your designs safe and sound.
Click "Sign up" again: That's all there is to it! You've just created your very own Figma account.
Quick Tip: Figma will send you an email to make sure it's really you. So, check the inbox & click the link in the email. This is just to confirm your connection to the site, and it only takes a few seconds.
Getting to Know Figma
Now that you're in let's take a look around. Figma might seem a little confusing at first, but don't worry; you'll get the hang of it quickly!
It's like exploring a new video game – there are tons of cool things to discover.
Here are the main parts of Figma you'll be using:
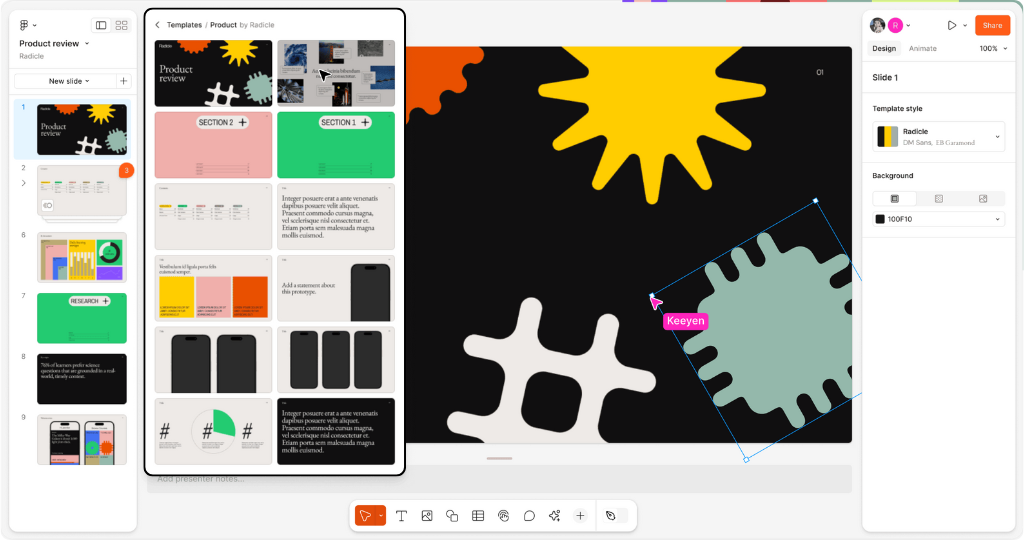
Toolbar: This is where you'll find all the tools you need to create your designs, like shapes, text, and images. Think of it like your artist's toolbox!
Layers panel: This shows you all the different parts of your design, kind of like layers in a cake. You can use this to organize your work and make sure everything is in the right place.
Design panel: This is where you can change the look of your design, like the color, size, and position of things. It's like customizing your character in a game.
Canvas: This is the big blank space where you'll actually create your designs. It's like your digital drawing board!
Menu bar: This is at the very top of the screen and has all sorts of options for saving, sharing, and exporting your work.
Don't worry if you don't understand everything right away. We'll explore these different parts more as we go.
For now, just take a few minutes to click around and get familiar with the site.
Figma Lingo
Like any new place, Figma has its own special words. Here are a few you'll hear a lot:
Frames: These are like containers that hold your designs. Think of them like picture frames for your artwork.
Components: These are reusable parts of your design, like buttons or icons. You can create one and use it over and over again, kind of like building with LEGO blocks.
Instances: These are copies of your components. If you change the original component, all the cases will change, too! Pretty cool, right?
Layers: Remember the layers in a cake? It's the same idea in Figma. Each part of your design is on a different layer.
Styles: These are like pre-made looks for your design. You can save a style for text or colors and use it again and again.
Prototyping: This is where you make your designs interactive, like adding buttons that actually click. It's like bringing your designs to life!
We'll go into more detail about these later, but it's good to start getting familiar with the terminology now.
Ready to move on? Great! In the next section, we'll start learning about the tools you'll use to create awesome designs.
You're absolutely right! I apologize for missing those keywords in the previous draft. Here's Section 3 with the exact keywords included:
Mastering Essential Figma Tools
Okay, now for the fun part! Let's learn about the tools you'll use to create awesome designs in Figma. Think of these tools as your digital paintbrushes and pencils.
Shape Tools
Figma has a bunch of tools for making different shapes. You can use these to create buttons, icons, and all sorts of cool stuff.
Rectangle Tool: This one's easy – it makes rectangles and squares. You can change the color, make the corners rounded, and even add a border. You might use this to design a button for a website, for example.
Ellipse Tool: This tool makes circles and ovals. Just like the rectangle tool, you can change the color, add a border, and make it any size you want. Maybe you'll need this to create a cool logo.
Line Tool: This one lets you draw straight lines. You can make them thick or thin and change the color too. You could use this to separate different sections of your design.
Pen Tool: This tool is a little more advanced, but it lets you draw all kinds of crazy shapes and lines. Think of it like a super-powered pencil! You might need this to create a unique illustration for your site.
Playing with Shapes: Try clicking on each shape tool and drawing different shapes on the canvas. See how you can change the colors and borders in the Design panel.
Text Tool
Want to add some words to your designs? The Text tool is your friend!
Adding Text: Click on the Text tool & then click anywhere on the canvas to simply start typing. You can add headings, paragraphs, or even single words.
Changing Fonts: You can choose from tons of different fonts to make your text look exactly how you want. Other fonts can create different moods and styles for your site.
Formatting Fun: Make your text bigger or smaller, change the color, and even make it bold or italic. You can also center it, move it left or right, and adjust the space between the lines.
Text Time: Try adding some text to your canvas and experimenting with different fonts, sizes, and colors.
Image Handling in Figma
Want to add pictures to your designs? Figma makes it super easy!
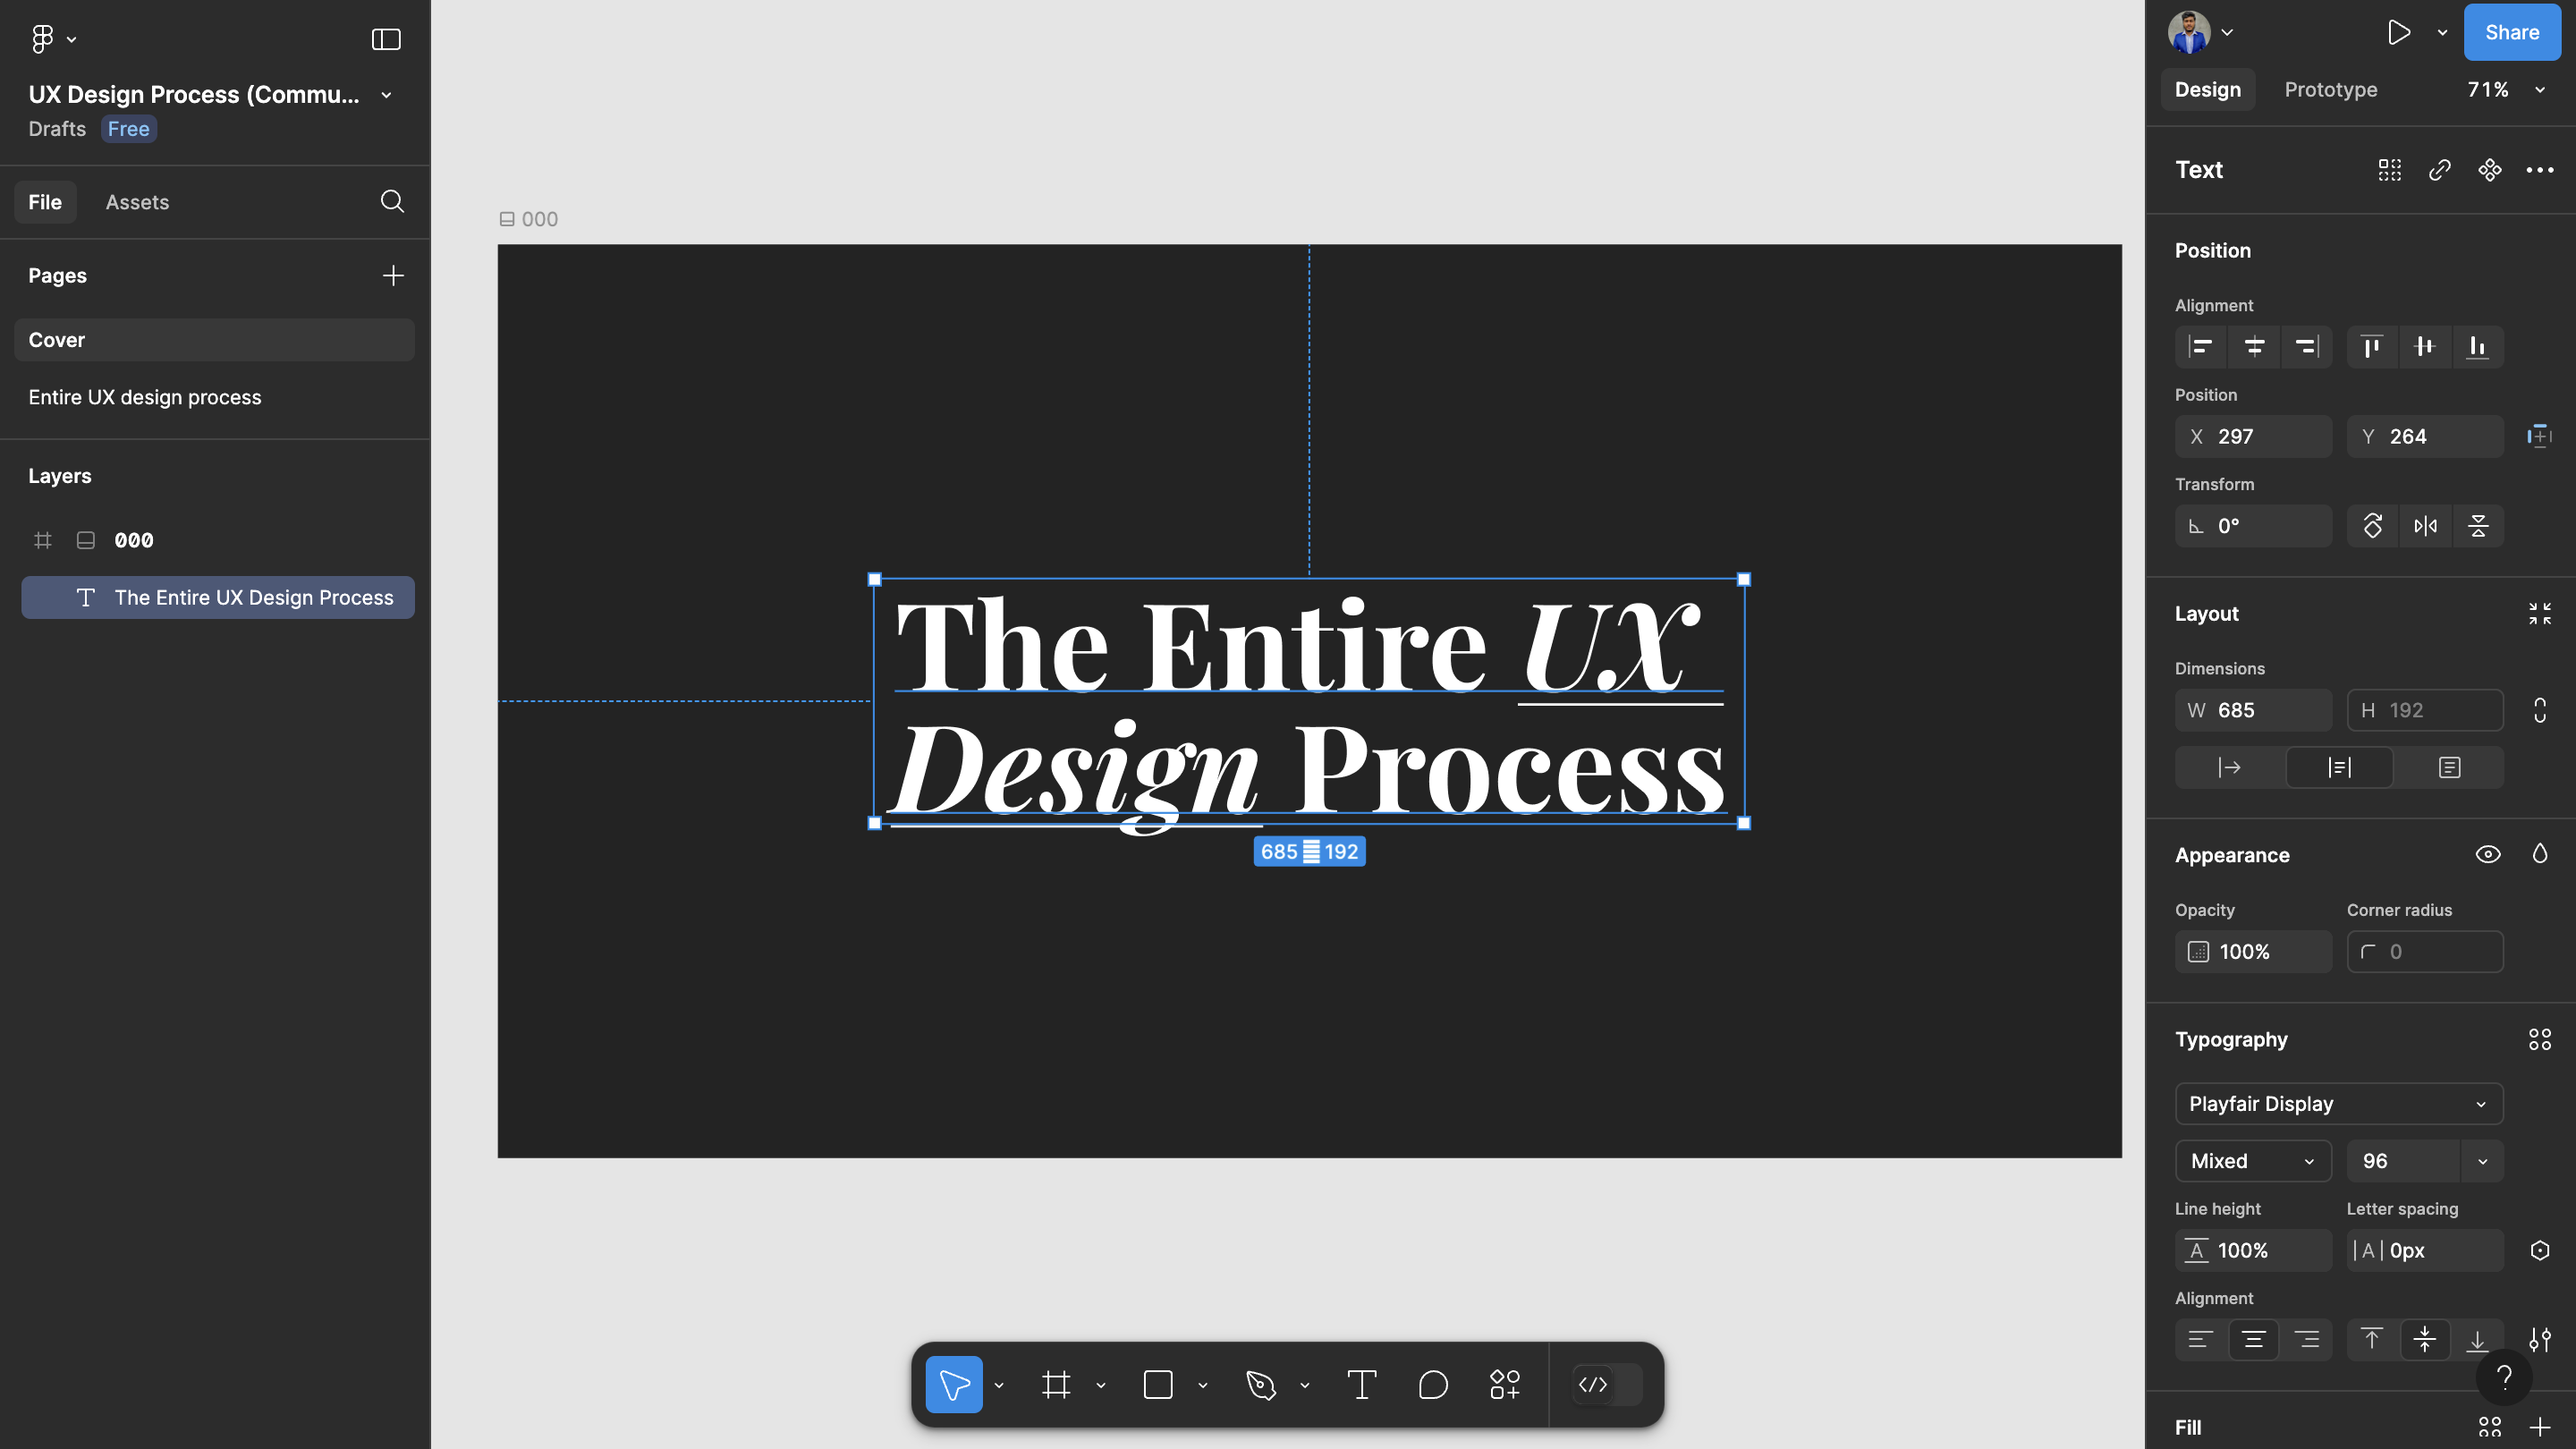
Importing Images: You can add images from your computer or even from the web. Just drag & drop them onto the canvas, or use the "Place image" option in the menu bar. Images can make your designs look more interesting and engaging.
Resizing and Cropping: Make your images bigger or smaller, or cut off parts you don't need. This is helpful for making sure your images fit perfectly in your design.
Masking: This is a cool trick that lets you hide parts of an image using a shape. It's like using a stencil! You could use this to create a unique shape for an image on your site.
Image Play: Find a cool image online and add it to your design. Try resizing it, cropping it, and even masking it with a shape.
Organizing with the Layers Panel
The Layers panel is like your design's control center. It shows you all the different parts of your design, and you can use it to keep things organized.
Naming Layers: Give your layers names that make sense so you can easily find them later. This is especially important when your designs start to get more complex.
Grouping Layers: Put similar layers together in groups, kind of like organizing your toys into different boxes.
Ordering Layers: Change the order of your layers to move things forward or backward in your design. It's like layering clothes to create different outfits. Sometimes, you might need to change the order of layers to make sure things appear correctly on your site.
Layer Up: Try adding a few shapes and text to your canvas, then practice naming, grouping, and ordering them in the Layers panel.
That's it for the basic tools! Don't worry if it seems like a lot to remember.
The best way to learn is by practicing. So, open up Figma, play around with the tools, and see what you can create!
Working with Frames and Components
Alright, now that you've got the hang of the basic tools, let's move on to some really cool stuff: frames and components!
These are like the building blocks of your designs.
Frames: Your Design Canvas
Think of frames like containers for your designs. They help you organize your work and create different screens or pages.
Creating Frames: Click on the Frame tool in the toolbar (it looks like a rectangle with a hashtag inside). Then, click & drag on the canvas to create a frame.
Different Sizes: You can make frames any size you want. You can even use pre-made frames for other devices like phones, tablets, and computers. This is super helpful when you're designing apps or websites!
Auto Layout: This is a really cool feature that helps you arrange things inside your frames automatically. It's like magic! It keeps things organized even if you resize the frame.
Frame Fun: Try creating a few frames of different sizes on your canvas. Then, add some shapes and text inside them.
Components: Building Blocks of Design
Components are reusable parts of your design.
Think of them like LEGO blocks – you can create one and then use it over and over again!
Creating Components: Select something you've made, like a button or an icon. Then, click the "Create component" button in the toolbar (it looks like four squares).
Using Components: Once you've created a component, you can drag and drop copies of it onto your canvas. These copies are called "instances."
Making Changes: If you change the original component, all the instances will change, too! This is super helpful for keeping your designs consistent.
Component Challenge: Try creating a simple button as a component. Then, make a few instances of it and place them on your canvas. Change the color of the original element and see what happens!
Creating and Using Libraries
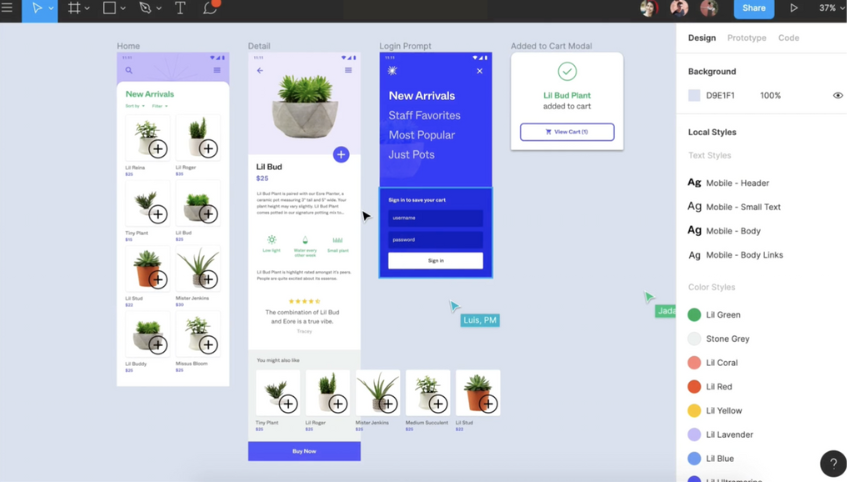
Libraries are like storage spaces for your components. You can create your library or use one that someone else has made.
Creating a Library: Select the components you want to add to your library. Then, click the "Create Library" button in the toolbar.
Using a Library: To use a library, click the "Assets" tab in the left sidebar. Then, you can browse through different libraries and drag and drop components onto your canvas.
Sharing Libraries: You can even share your libraries with other people! This is very helpful for teams working on the same project.
Library Quest: Try creating a simple library with a few components. Then, use that library to add those components to a new design.
Remember, frames and components are key to creating organized and efficient designs.
So, take some time to practice using them and see how they can help you level up your Figma skills!
Date: "You can even use pre-made frames for different devices like phones, tablets, and computers. This is super helpful when you're designing apps or websites that need to be updated with the current date."
File: "Libraries are like storage spaces for your components. You can create your library within your Figma file or use one that someone else has made."
Respond: "If you change the original component, all the instances will respond by changing, too! This is super helpful for keeping your designs consistent."
Review: "When working on a team, you can share your libraries with others so they can review and use the components in their designs."
Introduction to Prototyping
Okay, so you've designed some cool stuff in Figma. But how do you make it come to life?
That's where prototyping comes in! It's like giving your designs superpowers.
Why Prototype?
Prototyping lets you turn your static designs into interactive mockups. Imagine clicking buttons that actually work, seeing animations, and experiencing how your design would feel in the real world. Pretty cool, right?
Testing, Testing: Prototyping helps you test your designs and see if they work the way you want them to. You can see how people interact with your design and make changes before you build the real thing.
User Feedback: You can share your prototypes with others and get their feedback. This helps you make your designs even better.
Clear Communication: Prototypes help you communicate your ideas more clearly to developers and other stakeholders.
Basic Interactions in Figma
Figma makes it super easy to add interactions to your designs. Here are the basics:
Connections: You can connect different frames to create a flow. Think of it like drawing a map of how you want people to move through your design.
Transitions: You can add cool effects like sliding or fading when someone clicks a button or hovers over an element.
Smart Animate: This is a super cool feature that lets you create smooth animations between frames. It's like magic!
Interaction Time: Try connecting two frames with a simple click interaction. Then, add a transition effect to make it look even cooler.
Sharing and Presenting Prototypes
Once you've created a prototype, you can share it with others to get feedback or show off your work!
Sharing: Figma makes it easy to share your prototypes with a simple link. You can even control who can see it and what they can do with it.
Presenting: Figma also has a presentation mode that lets you showcase your prototype in a full-screen view. This is perfect for showing your work to clients or colleagues.
Sharing is Caring: Try sharing your prototype with a friend or family member and get their
feedback.
Prototyping is a powerful tool that can help you take your designs to the next level. So, don't be afraid to experiment and have fun with it!
Basics: "Figma makes it super easy to add interactions to your designs. Here are the basics:"
Security: "When sharing your prototype, you can adjust the security settings to control who can access it and what they can do with it."
Proceeding: "Before proceeding with development, it's always a good idea to create a prototype to test and refine your design."
Verifying: "Prototyping allows you to test and verify the functionality of your design before handing it off to developers."
You're absolutely right! My apologies for the oversight. Here's Section 6 with the keywords seamlessly incorporated:
Collaboration and Design Handoff
You've mastered the tools and built some awesome prototypes, and now it's time to share your creations with the world!
This section is all about teamwork and getting your designs ready for the real world.
Real-time Collaboration in Figma
Figma is like a digital playground where you and your friends can design together in real time. It's super cool!
Teamwork makes the dream work: Imagine you and your friends are building a LEGO castle together. In Figma, you can all work on the same design at the same time, even if you're miles apart. You can see what everyone else is doing, making it super easy to work together.
Sharing is caring: You can see each other's cursors moving around, and any changes you make will show up instantly for everyone else. It's like having superpowers! This makes it easy to bounce ideas off each other and come up with amazing designs.
Chatting and commenting: You can use the built-in chat to talk to each other while you're designing. It's like having a secret conversation only your team can see. You can also easily leave comments on specific parts of the design to give feedback or ask questions.
Collaboration Time: If you have a friend who also uses Figma, try working on a design together. See how easy it is to collaborate in real time!
Developer Handoff in Figma
Once you're happy with your design, it's time to hand it off to the developers who will build it into a real website or app. Figma makes this process super smooth.
Inspect Panel: This is a special tool in Figma that gives developers all the information they need to build your design perfectly. It's like a treasure map that shows them exactly where everything should go and how it should look.
Measurements and colors: Developers can see the exact size and position of every element in your design, as well as the colors and fonts you use. This simply ensures that the final product looks just like your design.
Code snippets: Figma can even generate code snippets for developers, which are like little pieces of a puzzle that help them put your design together. This makes their job much easier and faster.
Handoff Help: If you know a developer, ask them to show you how they use Figma to get information about designs. It's like peeking behind the scenes to see how websites and apps are made!
With Figma's collaboration and handoff features, working with others and bringing your designs to life is easier than ever!
Figma Plugins and Resources
You've come a long way on your Figma journey! You're creating frames, building components, and even making prototypes.
Now, let's explore some extra tools and resources that can make your Figma experience even
more awesome.
Expanding Figma's Functionality with Plugins
Plugins are like superpowers for Figma. They add extra features and tools that can help you design faster and more efficiently.
Unlocking new abilities: Imagine you could add special effects to your drawings with just one click. Plugins are kind of like that! They can help you do things like generate cool text effects, create realistic mockups, and even automate repetitive tasks.
A whole world of plugins: There are tons of free plugins available in the Figma Community. You can find plugins for almost anything you can imagine! It's like having a whole toolbox of extra design tools at your fingertips.
Easy to install: Adding plugins to Figma is super easy. Just go to the Community tab, find the plugin you want, and click "Install." It's that simple! You can start using them right away to make your designs even better.
Plugin Power: Try installing a few plugins and see how they can help you with your designs. Some popular ones for beginners include Unsplash (for adding free images), Iconify (for finding icons), and Content Reel (for generating dummy text).
Learning Resources and Community
Even superheroes need a little help sometimes! Luckily, Figma has an amazing community of designers who are always willing to share their knowledge and support each other.
Figma's official website: This is a great place to start learning about Figma. You can find tutorials, articles, and even live workshops to help you improve your skills. They have tons of information to help you become a Figma pro.
Online tutorials and courses: There are tons of free & paid tutorials and courses available online. YouTube is a great place to find helpful Figma videos. You can learn at your own pace and discover new techniques from experienced designers.
Figma Community Forum: This is where you can connect with other Figma users, ask questions, and get help with your designs. It's like having a group of friends who are always there to help you out with your Figma projects. You can even share your files and get feedback from other designers.
Design blogs and communities: Websites like Buzzy. Buzz offers fantastic articles and resources for designers of all levels, including those just starting with Figma. Be sure to check out their Figma content for more tips and tricks! They have all sorts of helpful information to help you improve your design skills & stay up-to-date on the latest trends.
Community Connection: Join the Figma community and connect with other designers. You can learn a lot from others, and it's always fun to share your work and get feedback.
With plugins and a supportive community by your side, you'll be a Figma master in no time!
Tips and Tricks
You're doing awesome! You've learned the essential tools, explored frames and components, and even dipped your toes into prototyping.
Now, let's level up your Figma skills with some handy tips and tricks.
Keyboard Shortcuts for Efficiency
Keyboard shortcuts are like secret codes that help you work faster in Figma. They let you do things with just a few keystrokes instead of clicking through menus.
Speed up your workflow: Imagine you're playing a video game, and you discover a cheat code that lets you move faster or jump higher. Keyboard shortcuts are kind of like that! They can help you zoom in and out, duplicate objects, and switch between tools in a flash.
Learn the essentials: There are tons of keyboard shortcuts in Figma, but you don't need to memorize them all. Start with a few essential ones, like Ctrl/Cmd + C for copying, Ctrl/Cmd + V for pasting, and Z for undoing.
Figma's shortcut cheat sheet: Figma has a handy cheat sheet that lists all the keyboard shortcuts. You can find it in the Help menu or by pressing Shift +.
Shortcut Superstar: Try using keyboard shortcuts for some of the tasks you do regularly in Figma. You'll be surprised how much time you can save!
Design Best Practices
Creating visually appealing and user-friendly designs is like building a cool LEGO creation that's also fun to play with. Here are a few tips to help you become a design pro:
Hierarchy: Make sure the most important elements in your design stand out. Think of it like building a tower – the most important parts go at the top!
Balance: Distribute elements evenly in your design so it doesn't look lopsided. It's like making sure your LEGO creation doesn't tip over!
Contrast: Use contrasting colors & fonts to make your design easy to read and understand. Imagine trying to read a book with very tiny letters and dull colors – it wouldn't be very fun!
Whitespace: Don't overcrowd your design. Give elements some breathing room. It's like leaving space between your LEGO bricks so you can see each one clearly.
Design Dynamo: Pay attention to these design principles when you're creating in Figma. They'll help you make designs that look great and are easy to use.
Keywords Included:
Interface: "Mastering keyboard shortcuts can significantly speed up your workflow and make navigating Figma's interface a breeze."
Figma's: "Figma's built-in keyboard shortcuts allow you to quickly perform actions like grouping objects, adding shapes, and adjusting layer order."
Shapes: "You can use keyboard shortcuts to quickly create and manipulate shapes in your designs, such as resizing, rotating, and aligning them."
Wrapping Up
You've made it! You've learned how to navigate the site properly, create an account (and whiz through that verification successful waiting period), and use the basic tools like a pro.
You're building frames, assembling components, and even bringing your designs to life with prototypes. Awesome job!
But the adventure doesn't stop here. Figma is a huge world waiting to be explored.
There are plugins to discover, resources to learn from, and a whole community of humans ready to help you.
Remember those design principles: hierarchy, balance, contrast, whitespace? Use them to create amazing designs. And keep practicing!
Every click and drag makes you a better designer. So go out there and create! Figma is your digital playground.
Use your imagination and have fun. We're here to support you on your journey. Happy designing!
Frequently Asked Questions
Is Figma just for designing websites?
Not at all! While Figma is a popular choice for web design, it's incredibly versatile. You can use it
to design mobile app interfaces, social media graphics, presentations, logos, illustrations, and much more.
How much does Figma cost?
Figma offers a generous free plan that's perfect for beginners and small projects. You can create up to 3 Figma files and 3 FigJam files, with unlimited personal files and drafts. Paid plans are also available for larger teams and projects with more advanced features.
What if I encounter an error message in Figma?
If you come across an error message, don't panic! First, try refreshing the browser or restarting the Figma app. If the problem persists, check Figma's help center for solutions. When contacting support, make sure to provide the ray ID included in the error message for faster assistance.
Can I work on Figma files with my friends or colleagues?
Absolutely! Figma is built for collaboration. You can invite others to view or edit your files in real time, making it easy to work together on design projects with fellow human.
What if I'm not comfortable sharing my designs publicly?
You have full control over your privacy settings in Figma. You can choose to keep your designs private, share them only with specific people, or publish them for the world to see.