The same goes for designing apps or websites. Jumping into Figma without a solid first draft can lead to confusion and wasted time.
Imagine getting halfway through your design and realizing you missed a key feature.
Or worse, having to redo everything because your team doesn't understand your vision. Frustrating, right?
This guide will simply teach you how to create an awesome Figma first draft easily.
We'll walk you through each step, from planning to feedback, so you can design with confidence and impress everyone with your skills.
Pre-Design Essentials
Okay, so you're fired up to design something awesome in Figma. But hold on! Before you even touch that trackpad, there's some important prep work to do.
Think of it like building a house – you wouldn't start without a blueprint, right?
Understanding Your Project
First things first, you have to know what you're building! What's the goal of your design? Who's going to use it?
Is it a website for selling cool sneakers, an app to help people learn a new language, or something totally different?
Imagine you're designing a website for a local bakery. You'd need to know things like:
What kind of vibe do they want? (Modern and sleek? Cozy and rustic?)
What info needs to be on the site? (Menu, online ordering, location, etc.)
What are their competitors' websites like? (Check out what others are doing, but don't just copy!)
This is where gathering inspiration comes in. Browse websites that closely resembled existing apps and collect ideas that fit the project.
You can even create a mood board with colors, images, and fonts that capture the right feel. Think of it like a collage for your website or app!
Planning Your Design
Now, it's time to think about how your design will actually work. This is where sketching and wireframing come in handy.
Don't worry, you don't have to be Picasso! Just grab a pen & paper (or a digital drawing tool) and start mapping out the basic layout.
Think about:
What pages or screens will there be?
How will people move through them? (Like, from the home page to the "About Us" page)
Where will you put important stuff like buttons and menus?
Wireframing helps you organize your ideas and figure out the flow before you get into the nitty-gritty of Figma. It's like building a roadmap for your design!
Getting Your Content Ready
Finally, you'll need the actual stuff that goes into your design. This might include:
Text for headings, paragraphs, and buttons
Images or illustrations
Logos and branding elements
Make sure you have all this ready to go before you jump into Figma. It's like having all the ingredients before you start baking a cake!
Pro Tip: To keep your Figma files organized, create your own custom libraries for things like logos, icons, and commonly used components.
This will save you tons of time in the long run and make it easier to maintain consistency across your designs. Think of it like having a toolbox with all your favorite tools in one place!
By taking the time to understand your project, plan your design, and gather your content, you'll be setting yourself up for success in Figma.
It's like having a solid foundation before you start building a skyscraper. Now, you're ready to move on to the fun part – bringing your design to life in Figma!
Setting Up Your Workspace
Alright, you've got your plan, your inspiration, and your content – now it's time to dive into Figma! But before you start throwing things on the canvas, let's get your workspace organized.
Think of it like setting up your desk before tackling a big school project. A tidy space means a focused mind!
Starting a New File
First up, open Figma in your browser or desktop app and create a new file.
Figma offers handy templates for different devices like phones, tablets, and desktops. Choose the one that matches your project.
Pro Tip: Give your file a clear and descriptive name right from the start. This might seem small, but trust me when you have tons of Figma files, you'll be thankful you did! Something like "Bakery Website - First Draft" is much better than "Untitled 123."
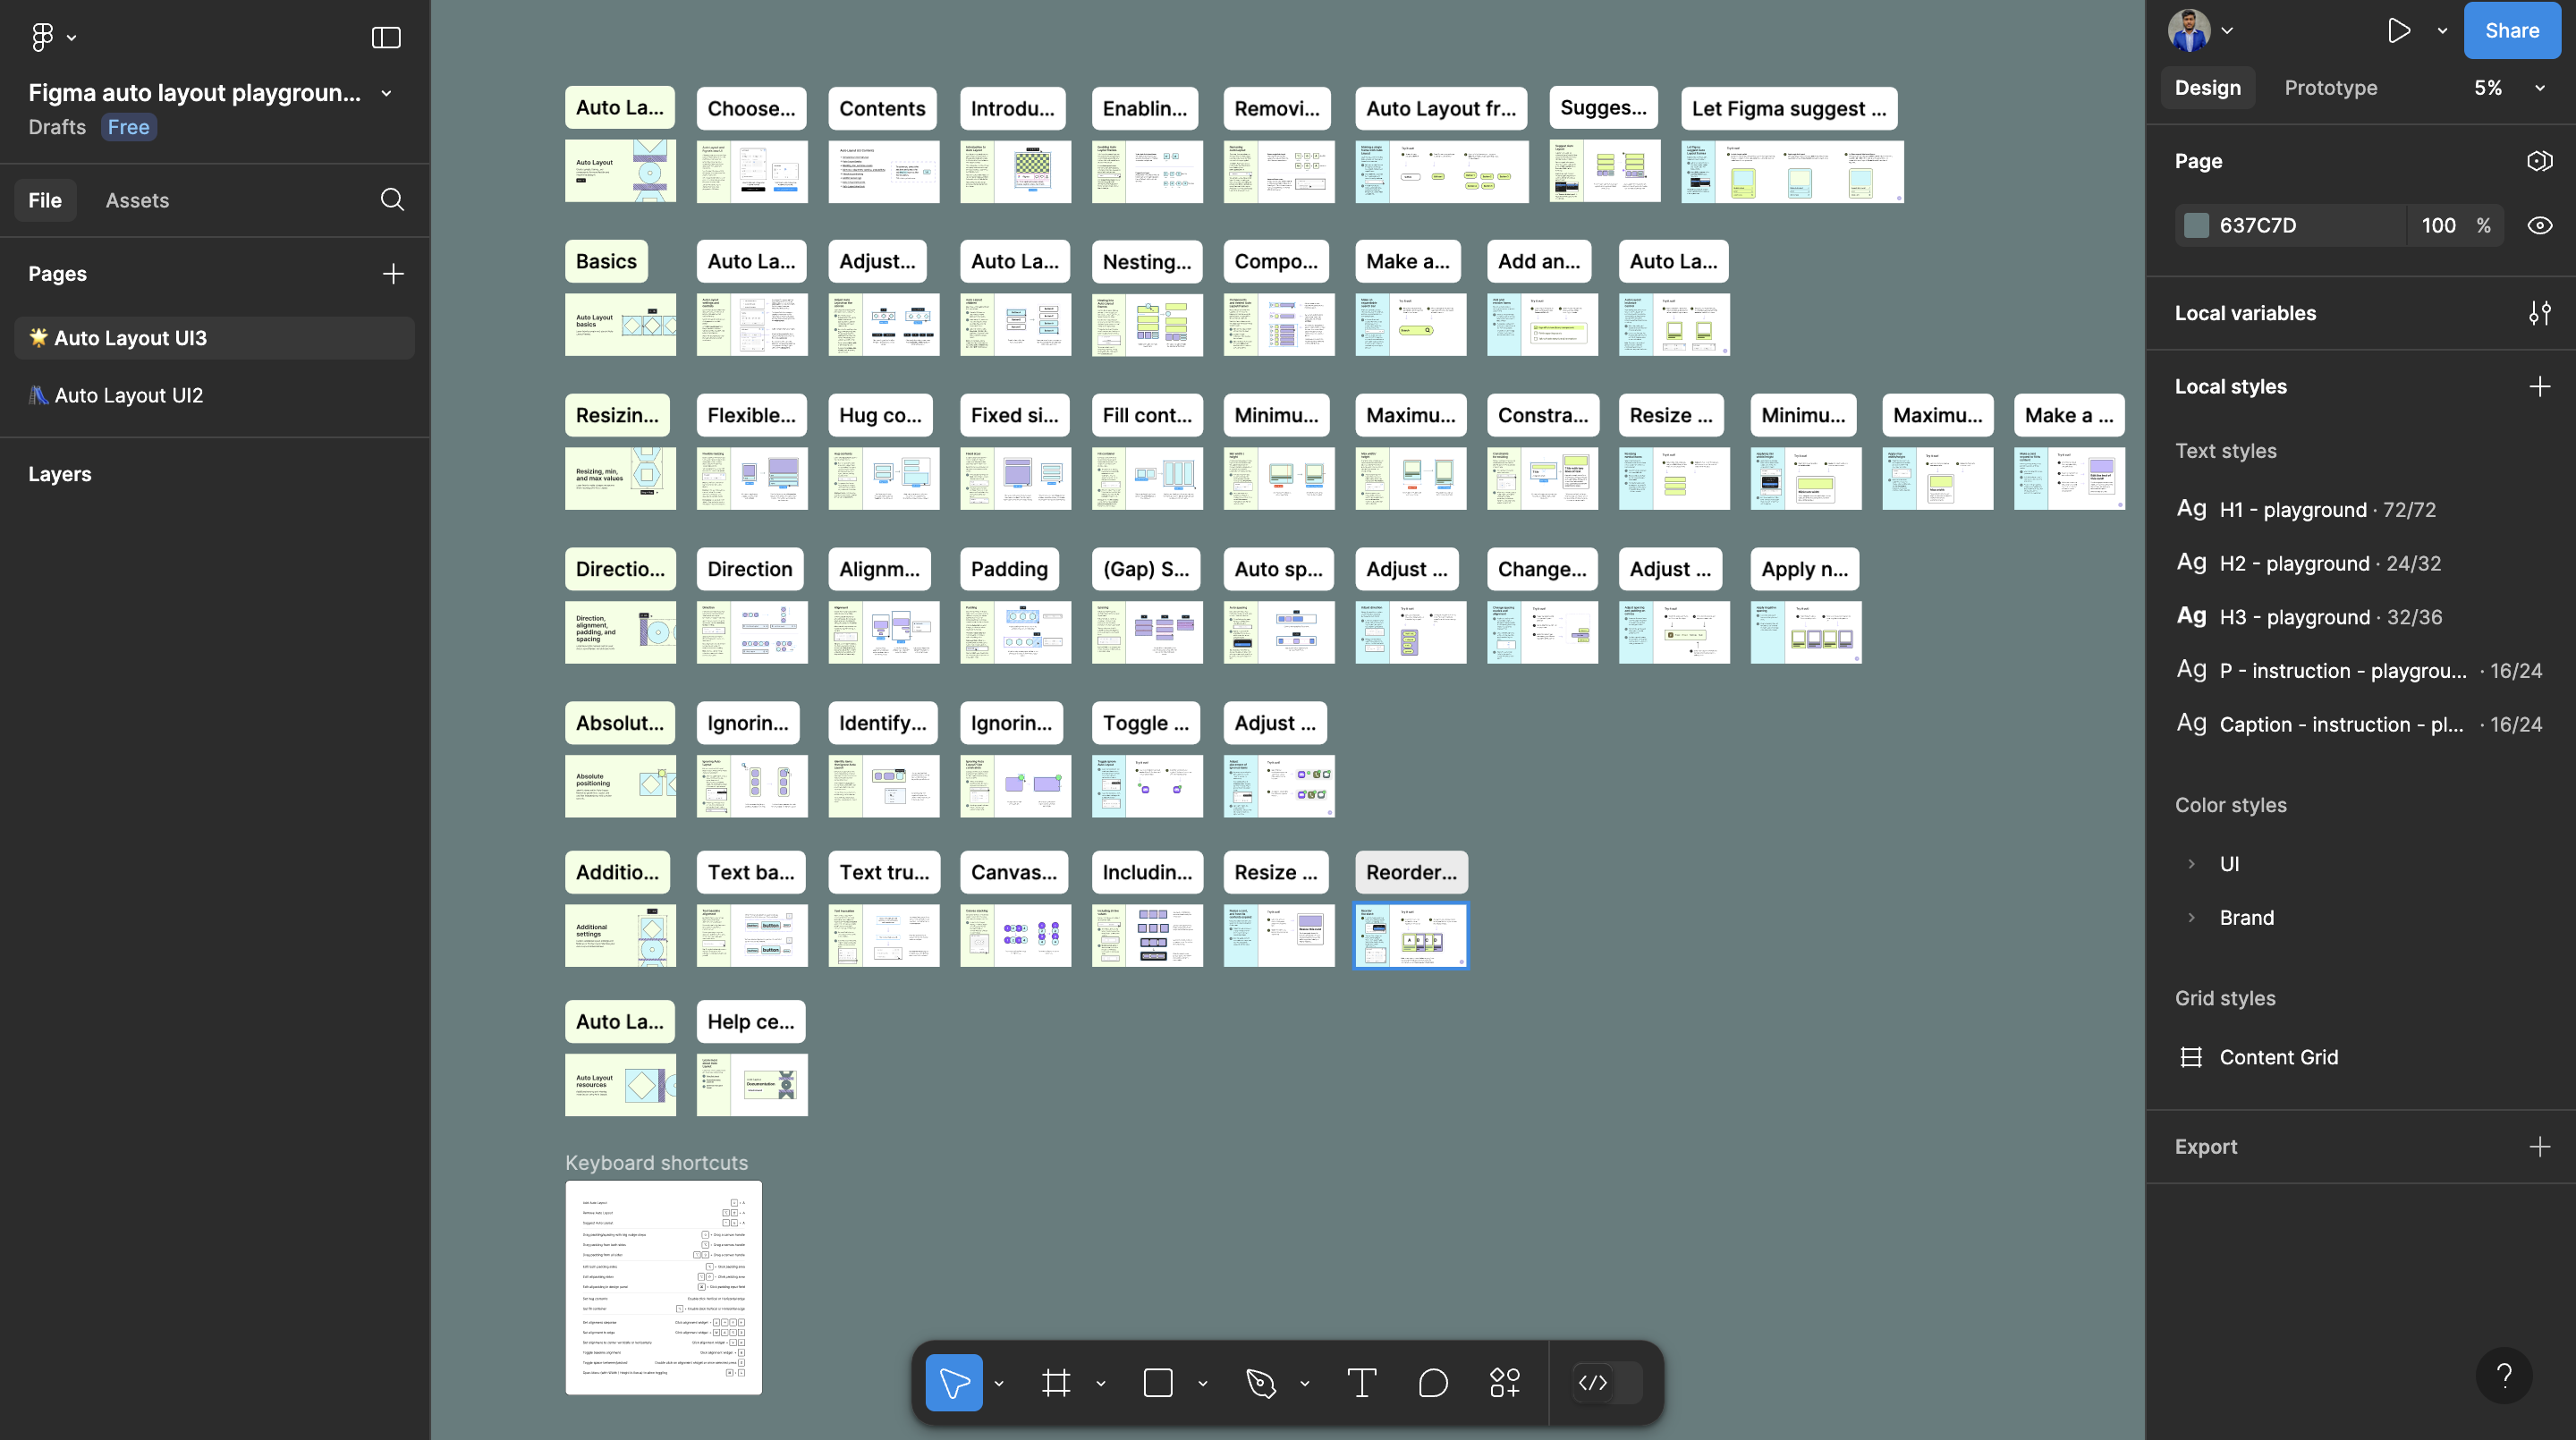
Figma Tools 101
Figma has a bunch of cool tools, but for your first draft, you'll mainly use these:
Frames: These are like containers for your design elements. Think of them as picture frames for your website or app screens.
Shapes: Use these to create buttons, icons, and other visual elements.
Text: This tool lets you add headings, paragraphs, and other text content.
Pen Tool: This is for drawing custom shapes and lines. (Don't worry if you're not a pro with this one yet!)
Figma has awesome resources to help you learn these tools. Just click the icon for help.figma.com in the top right corner of the screen. They have guides and videos that make it super easy to understand.
Figma's Superpowers
Figma has some awesome features that can make your design process way smoother. Here are two you should definitely know:
Components: These are like reusable building blocks for your design. Create a button once, turn it into an element, and then reuse it throughout your design. If you need to make a change, you only have to update it in one place!
Auto Layout: This feature helps you arrange elements neatly and automatically adjust spacing. It's a lifesaver for things like buttons in a menu or lists of items.
Think of components and auto layout like having a superpower that lets you design faster and keep things consistent. This is especially helpful for product teams working together on the same project.
By setting up your Figma file properly and getting familiar with the basic tools, you'll be well on your way to creating an awesome first draft.
It's like having a well-equipped workshop where you can build anything! Now, let's get to the exciting part – actually designing your masterpiece!
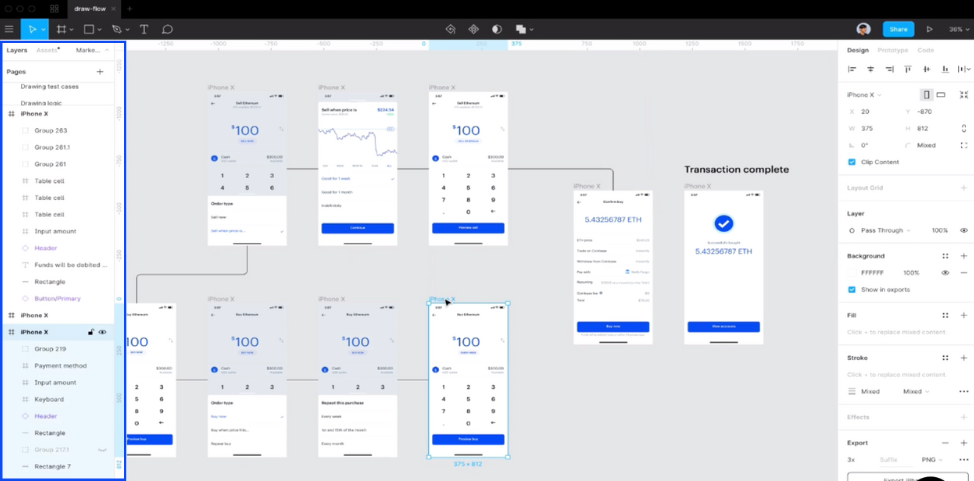
From Blank Canvas to First Draft
Okay, you've set up your Figma workspace like a pro. Now comes the real fun: actually building your design!
Think of it like putting together a puzzle, piece by piece. Don't worry about making it perfect just yet – we're aiming for a solid first draft.
Laying the Foundation
Start by creating the basic structure of your design using frames. These are like the walls of your house, defining the different sections of your website or app.
Use layout grids to help you arrange things neatly and keep everything aligned.
Imagine you're designing a home screen for a mobile app. You might have separate frames for:
The header (with the app logo and maybe a search bar)
The main content area (where the most important stuff goes)
The navigation bar (at the bottom, with buttons for different sections of the app)
Remember to leave some space – whitespace is your friend! It helps your design breathe and makes it easier for people to focus on the important stuff.
Adding Visuals
Now, it's time to bring your design to life with visuals! Add images, icons, and other elements to make it more engaging.
Figma has some cool tools for working with images, like masks and effects. You can use these to crop pictures, add shadows, and make them look just right.
Pro Tip: If you're designing a website, make sure it's easy for people to view this site properly on different devices. Use Figma's responsive design features to see how your design looks on various screen sizes.
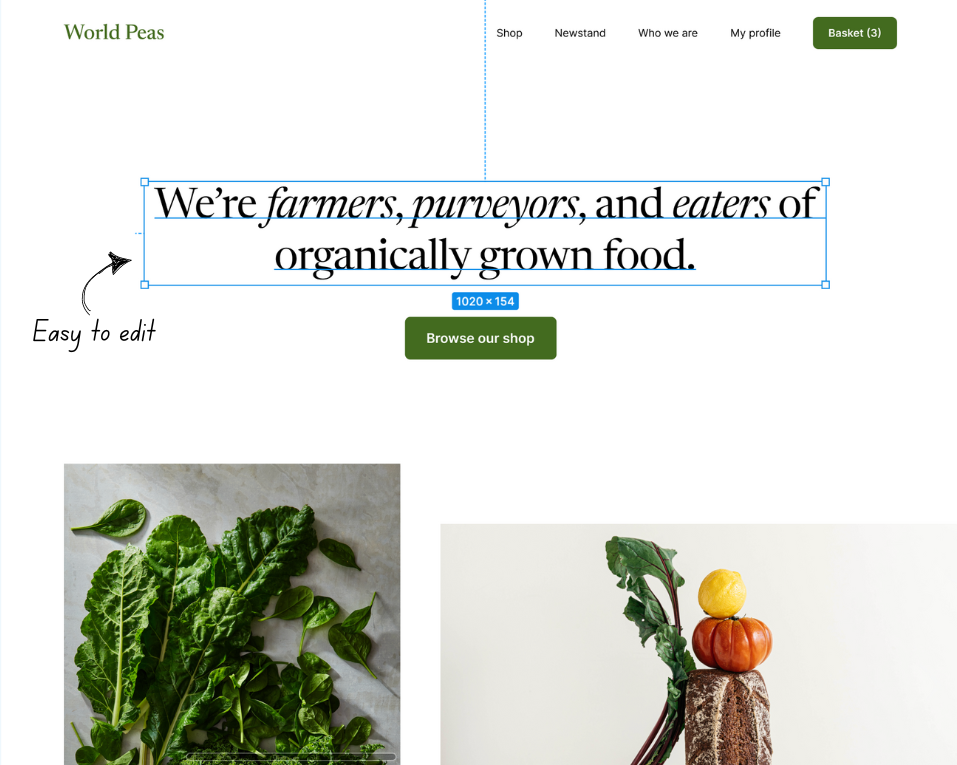
Crafting Your Content
Don't forget about the words! Text is a crucial part of any design. Choose fonts that are easy to read and fit the overall style of your project.
Figma's text styles feature lets you create different types of text (like headings, subheadings, and body text) and apply them consistently throughout your design.
Limited Beta: Figma is currently testing a new AI feature that can help you generate text content directly within your designs. Keep an eye out for updates on this exciting development!
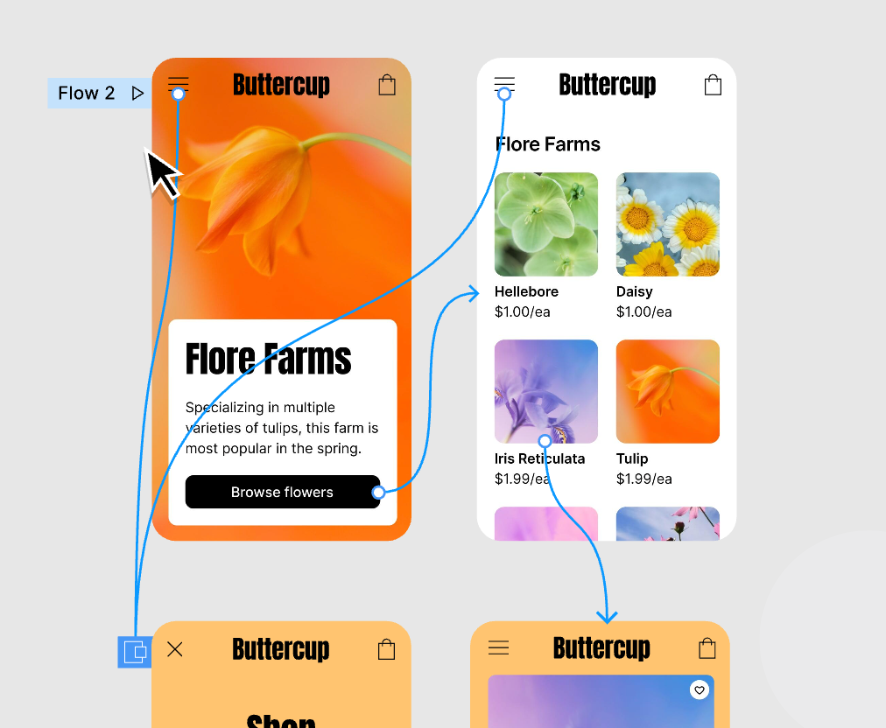
Prototyping
Want to see how your design will actually work? That's where prototyping comes in! Figma lets you create simple interactions, like clicking a button to go to a different screen.
This helps you test the flow of your design and make sure it makes sense.
Think of it as creating a mini-movie for your website or app. You can even share your prototype with others to get feedback.
By following these steps, you'll have a solid first draft of your design in no time. Remember, it doesn't have to be perfect at this stage.
The goal is to get your ideas down & create a foundation you can build upon. Now, let's move on to refining your design and making it even better!
Refining Your Figma Draft
Alright, you've got a solid first draft – awesome! But the design journey doesn't stop there. Now, it's time to polish your work and make it shine.
Think of it like revising an essay: you've got the main ideas down; now, you need to refine them and make them even better.
Feedback is Your Friend
Even the best designers need feedback! Share your Figma prototype with others and ask for their honest opinions.
This could be your friends, family, teachers, or even other teams working on similar projects.
What to ask:
Is it easy to understand and use?
Do they get stuck anywhere?
What do they like or dislike about it?
Don't be afraid of constructive criticism – it's how you learn and grow!
Back to the Drawing Board (Sort of!)
Based on the feedback you get, it's time to make some changes. This might mean tweaking the layout, adjusting the colors, or even rethinking some of your ideas.
Figma's version history feature is your best friend here. It lets you go back to earlier versions of your design if you need to.
Pro Tip: If you're working with a team, use Figma's commenting feature to discuss changes and keep everyone on the same page. It's like having a conversation right inside your design file!
Don't Forget Accessibility
When you're refining your design, it's important to think about accessibility. This means making sure your design is usable by everyone, including people with disabilities.
Here are a few things to keep in mind:
Color Contrast: Make sure there's enough contrast between the text and background colors so people with low vision can read it easily.
Font Sizes: Use the font sizes that are large enough to be readable.
Alt Text: Add descriptions to images so people using screen readers can understand what they are.
Figma has built-in tools to help you check for accessibility issues. Use them!
Teamwork Makes the Dream Work
Figma is awesome for collaboration. You can invite others to work on your design file in real time. This is super helpful for teams, as you can see each other's changes and give feedback instantly.
Imagine you're working on a school project with your classmates. You can all be in the same Figma file at the same time, each working on different parts of the design. It's like magic!
By getting feedback, making refinements, and collaborating with others, you can take your Figma design from good to great.
Remember, the goal is to create something that not only looks good but also works well and is accessible to everyone. Keep iterating and improving, and you'll be amazed at what you can achieve!
You are absolutely correct! My apologies; I missed bolding some of the keywords.
Here is the corrected version of Section VI with all six keywords in bold:
Collaboration and Handoff
You've designed an awesome app or website for Figma. Congrats! But the journey's not over yet. Now it's time to share your masterpiece with others and get it ready for the real world.
Think of it like simply passing the baton in a relay race: you've run your part, and now it's time for the next runner to take over.
Sharing Your Design with Developers
If you're designing a website or app, you'll need to share your Figma design with developers. They're the ones who will take your design and turn it into a real, working product.
Figma makes this super easy with its inspection panel. This panel shows developers all the important details of your design, like the sizes, colors, and spacing of different elements.
It's like a secret code that tells developers exactly how to build your design.
Simply update your browser to the latest version to ensure you have access to all of Figma's developer handoff features.
For optimal performance security, ensure your browser is up-to-date to protect your designs and data.
Keeping Things Tidy
As your Figma files grow, it's important to keep them organized. Use clear naming conventions for your files, pages, and layers. This will make it easier for you (and others) to find what you need.
Pro Tip: Create higher fidelity libraries of commonly used existing components like buttons, icons, and form elements. This will help you maintain consistency across your designs and save
you time in the long run. You can find assembly examples and inspiration for organizing your
components within Figma's community resources.
By collaborating effectively, sharing your design with developers, and keeping your files organized, you'll ensure a smooth transition from design to development.
It's like passing the baton seamlessly in a relay race, ensuring a winning finish!
Conclusion
Whew! We've covered a lot, from brainstorming to handing off your design. Remember, it all starts with understanding your design goals before even opening Figma.
Then, use those tools to bring your ideas to life! Experiment, get feedback, and refine your design until it's awesome.
Figma makes it easy to collaborate, so share your work and get input.
When you're ready to share your design, make sure you're using the right browser to view it. If
you hit any snags, Figma's support team is there to help, and they might ask for your ray ID to troubleshoot.
Keep practicing and exploring – you'll be surprised how quickly you can make designs like a pro!
Maybe you'll even become the future vice president of design! Most importantly, have fun & let your creativity shine!
Frequently Asked Questions
What if I mess up my design? Can I go back to an earlier version?
Don't worry; we all make mistakes! Figma has a handy version history feature that lets you rewind to earlier versions of your design. It's like a time machine for your project!
I'm stuck! Where can I find help with Figma?
Figma has amazing resources to help you out. Click the question mark icon in the top right corner of the screen to access their help center, which has tons of guides and tutorials. You can also find
so many helpful tips & tricks on YouTube and design blogs.
What's the best way to share my Figma design with others?
Figma makes sharing super easy! You can invite others to view or edit your design file, or you can share a read-only link. You can even embed your design on a website or in a presentation.
How can I make sure my design looks good on different devices?
Figma has responsive design features that let you preview your design on different screen sizes. This helps you make sure your design looks awesome on everything from a tiny phone to a giant monitor.
Is Figma free to use?
Figma has a free plan that's perfect for getting started. They also have paid plans with more features for professionals and teams. You can check out their pricing page for more details.