It can simply seem like a daunting task, especially for beginners. But don't worry; Figma is here to make your design journey smooth and enjoyable.
This free online tool is super user-friendly and perfect for bringing creative ideas to life.
In this guide, we'll break down the basics of Figma UX Design, showing you how to design awesome user experiences, even if you're starting out.
So, are you ready to become a Figma pro? Let's get started!
Getting Started with Figma
Okay, so you're excited to dive into Figma and start designing, right? Awesome! But first, let's get you set up and comfy with the basics.
Think of this section as learning the rules of the road before you start driving. 🚗
Creating a Figma Account
First things first, you'll need a Figma account. Don't worry, it's super easy and free!
Head over to the Figma website (figma.com).
Click on the "Sign up" button.
You can sign up using the Google account, email address, or even your Apple ID. Choose whichever is easiest for you.
Follow the simple instructions and boom! You're officially a Figma user!
Figma has different plans, including a free one that's perfect for beginners. As you get more advanced, you can always explore their other plans if you need more features.
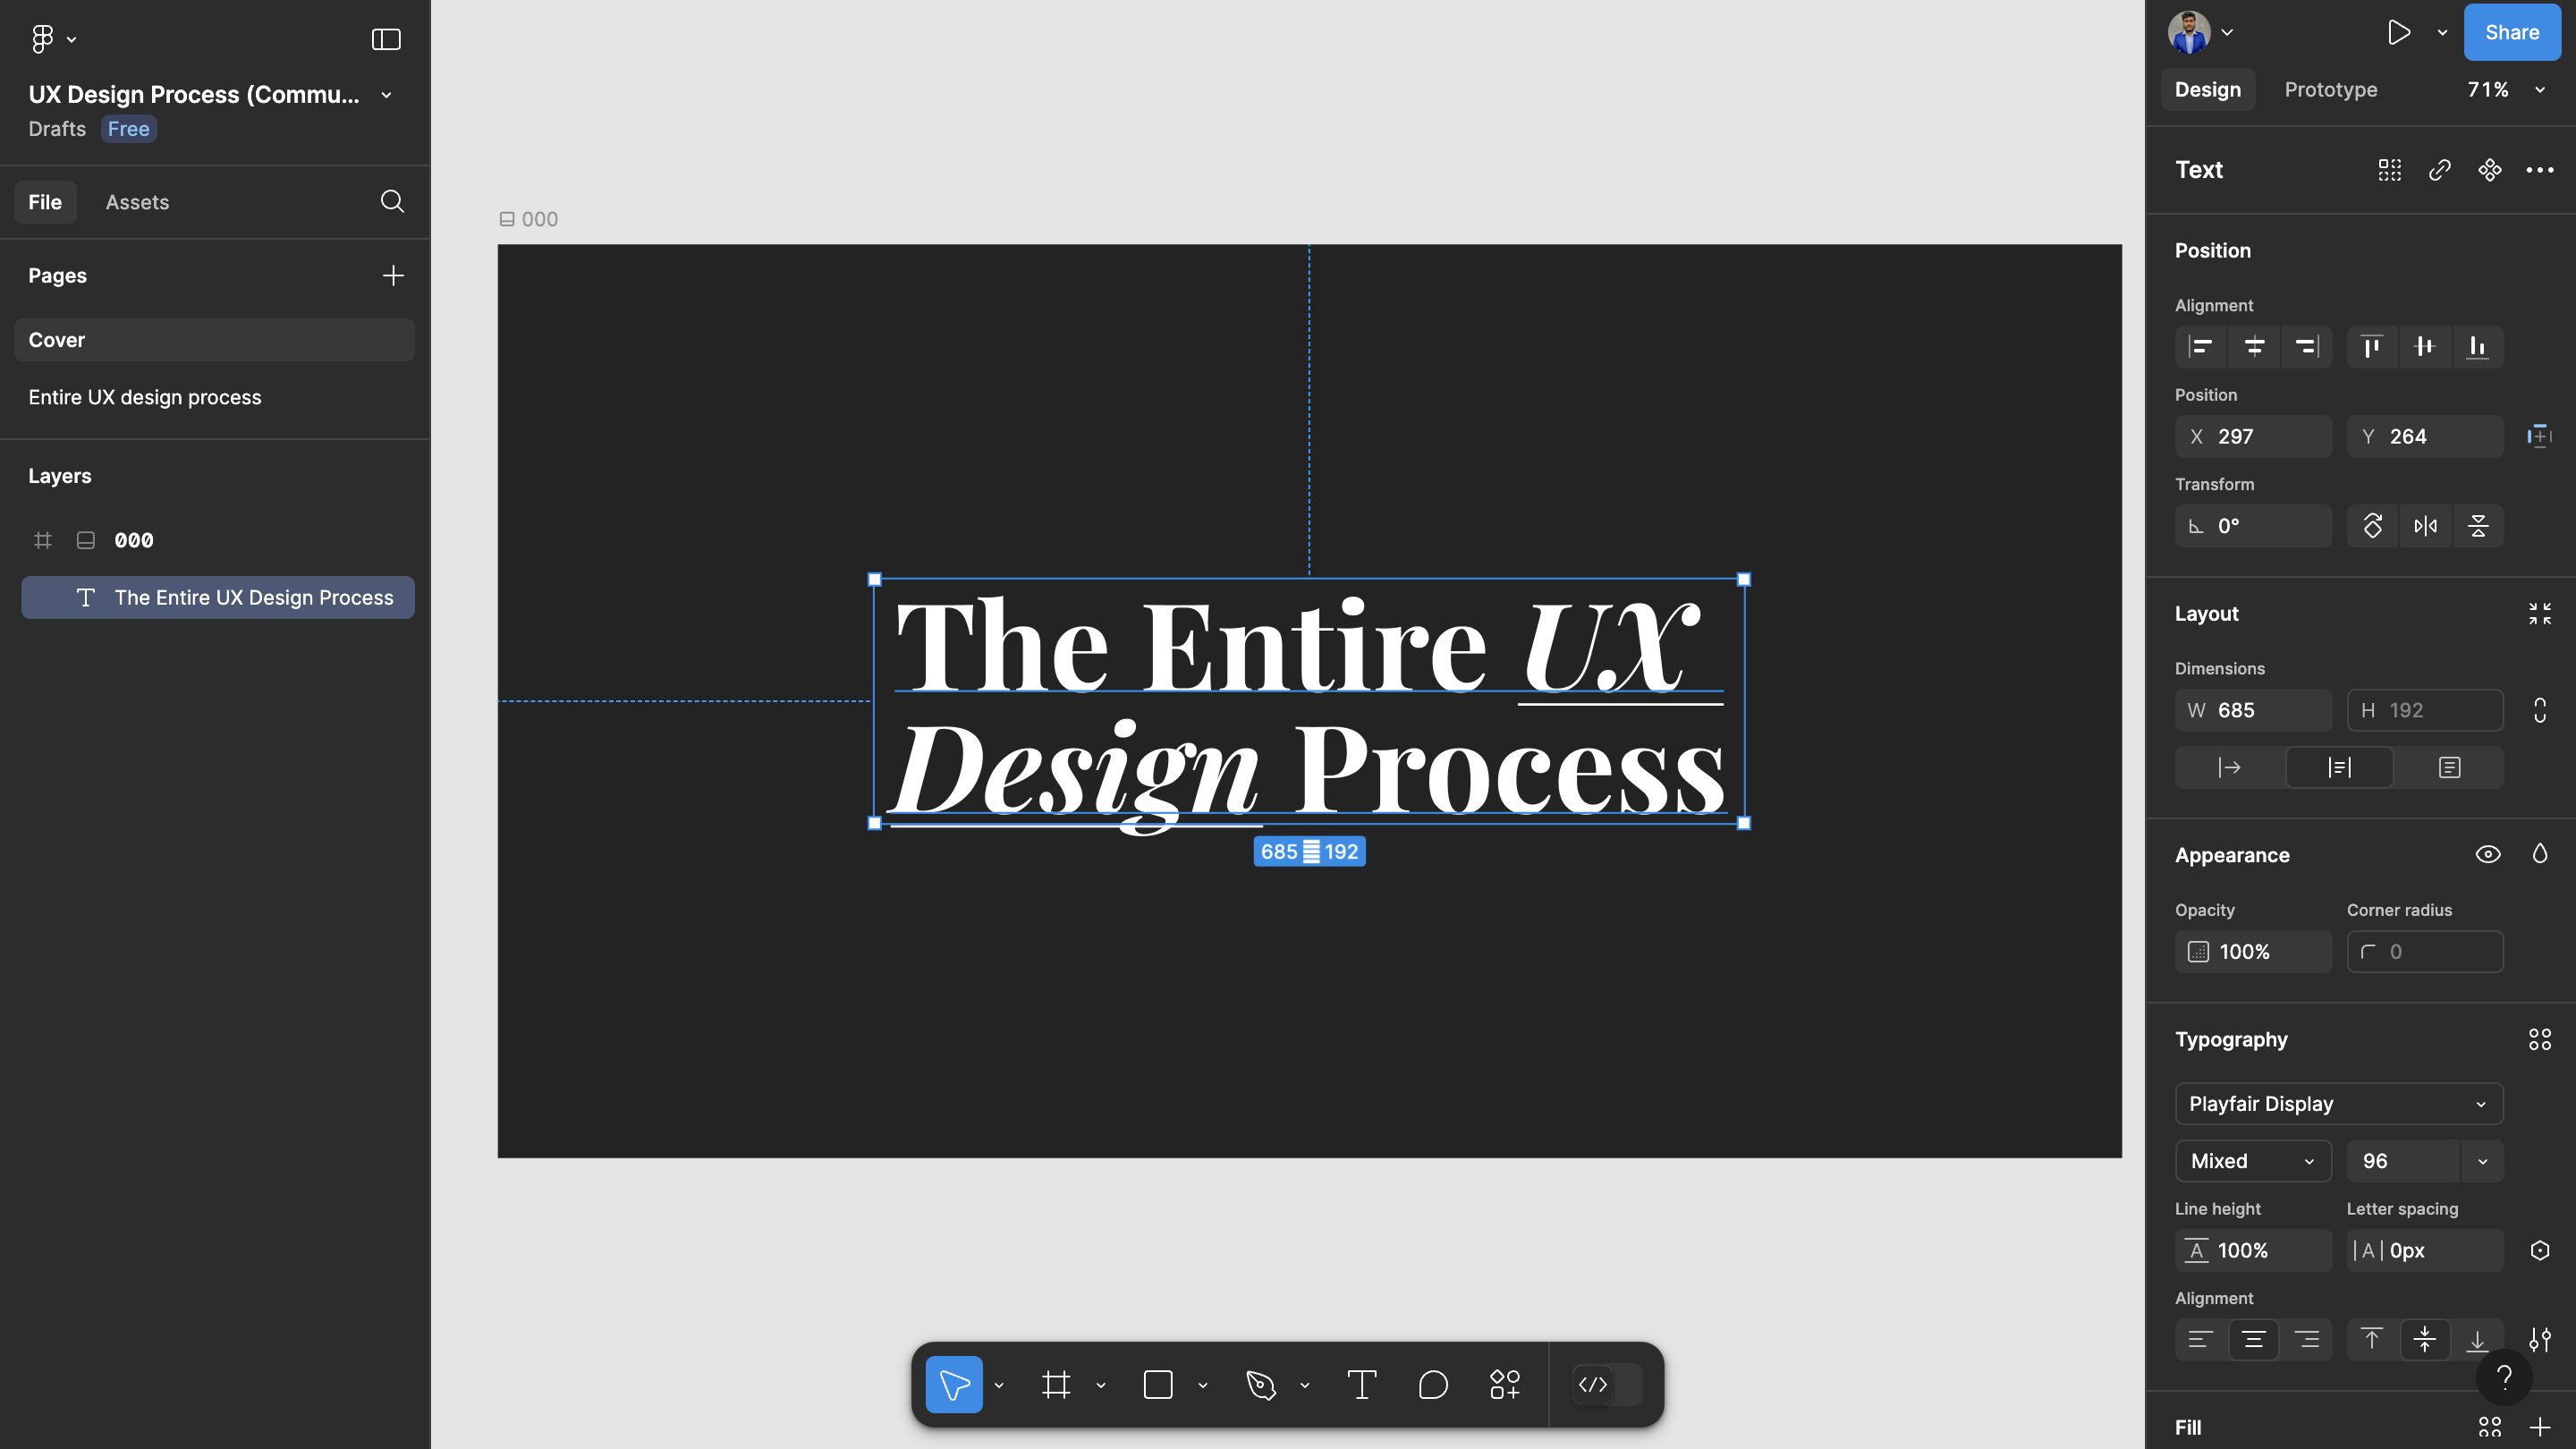
Navigating the Figma Interface
Now, let's explore the Figma workspace. When you first open Figma, it might seem like there's a lot going on, but don't worry; it's all very organized.
Menu: This is at the very top of your screen, where you'll find options like creating new files, saving your work, and accessing different settings.
Toolbar: This is located on the left side of your screen and holds all the important design tools you'll be using, like the shape tool, text tool, and move tool.
Layers Panel: Think of this as your design organizer. It shows you all the different layers in your design, kind of like stacking papers on top of each other. You'll find this on the left side as well.
Design Panel: This is the main area in the center where all the design magic happens! It's where you'll create and edit your designs.
Essential Figma Tools and Features
Now for the fun part – the design tools! Figma has a bunch of cool tools that help you create awesome designs. Here are a few of the essentials:
Frames: These are like containers for your designs. You can use them to create different screens for your app or sections for your website.
Shapes: Circles, squares, triangles – Figma has them all! Use these to create different elements in your design.
Pen Tool: This tool simply allows you to draw custom shapes and lines.
Text Tool: Add text to your designs, choose different fonts and sizes, and make your message stand out.
Move Tool: This is your go-to for moving things around in your design.
Later on, we'll also learn about Auto Layout, a super handy feature that helps UI designers like you create designs that automatically adjust when you make changes. It's like magic! ✨
That's it for the basics! Now that you're familiar with Figma's interface and essential tools let's move on to the exciting world of UX design!
Mastering the Fundamentals of UX Design in Figma
Alright, now that you've got the Figma basics down, let's talk about what makes designs truly shine – the user experience (UX)! Think of UX design as planning a surprise party.
You want to make sure everything is perfect for your friend, right? From the decorations to the cake, every detail should make them happy and excited.
That's exactly what UX designers do for apps and websites.
They make sure everything is designed in a way that makes users happy and helps them easily find what they're looking for.
Understanding UX Design Principles
There are a few important things to keep in mind when designing for a great user experience:
User-Centered Design: Always think about who will be using your design. What are their needs and preferences? How can you make their experience as smooth and enjoyable as possible?
Usability: Your design should be easy to use and understand. Imagine someone using your app for the first time – can they figure it out without getting confused?
Accessibility: Make sure that the design is accessible to everyone, including people with disabilities. This means using clear fonts, sufficient color contrast, and alternative text for images.
Information Architecture: This is like creating a map for your app or website. Organize information in a logical way so each users can simply find what they need.
Creating Your First UX Project in Figma
Let's put these principles into practice and design a simple mobile app screen together! We'll create a login screen for a fictional social media app called "Connect."
Start with a Frame: Grab the Frame tool and create a frame for your phone screen. You can choose from preset sizes for different phone models.
Add a logo: Use the Shape tool or the Image tool to add the "Connect" logo at the top of the screen.
Create text fields: Use the Text tool to add fields for "Username" and "Password."
Design a button: Use the Shape tool and Text tool to create a "Login" button.
Add additional features: Maybe include a "Forgot Password?" link or a "Sign up" option for the new users.
As you design, remember to think about the user. Is the layout clear and easy to understand? Are the fonts readable? Is the button easy to find and click?
Working with Layers
Remember the Layers panel we talked about earlier? It's super important to keep your layers organized, especially as your designs get more complex.
Think of it like organizing your closet – you wouldn't want to throw all your clothes in a pile, right?
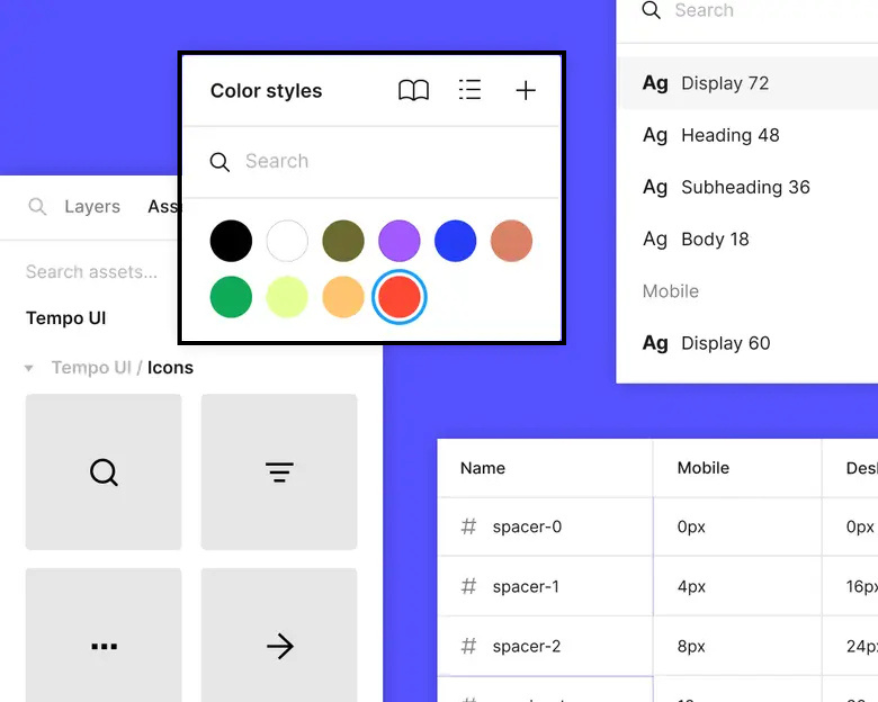
Name your layers: Give each layer a clear and descriptive name, so you know what it is.
Group layers: Group related layers together to keep things tidy. For example, you could group all the elements of your login button into a single folder.
By keeping your layers organized, you'll save yourself a lot of time and frustration in the long run. Plus, it makes it easier for others to understand and work with your designs.
In the next section, we'll explore some more advanced Figma techniques, including vector
networks, Smart Animate, and how to create a responsive design.
Get ready to level up your Figma skills!
Advanced Figma Techniques for UX Designers
Okay, you've mastered the basics, and you're ready to take your Figma skills to the next level!
This section is all about those cool Figma features that will make you feel like a design superhero. 😎
Components and Variants
Imagine you're designing a website with lots of buttons. Instead of creating each button from scratch, you can use Components! Think of components like building blocks.
You create one perfect button, and then you can reuse it as many times as you want throughout your design.
If you need to make a change, like changing the color or size, you only have to update it once, and all the buttons will magically update, too! ✨
But wait, there's more! With Variants, you can make different versions of your components.
Let's say you need buttons in different sizes (small, medium, large) or with different styles (filled, outlined).
Variants make it super easy to manage all those variations without cluttering up your design.
Auto Layout
Remember we talked about Auto Layout earlier? It's time to dive deeper! This amazing feature helps you create dynamic and flexible designs that adjust automatically.
Think of it like a superpower that lets your designs adapt to any situation. 🦸
For example, imagine you're designing a navigation menu with several items.
With Auto Layout, if you add or remove a menu item, the menu will automatically adjust the spacing and arrangement of the other items.
No more manual resizing or repositioning! This is especially helpful for making responsive designs that look great on different screen sizes.
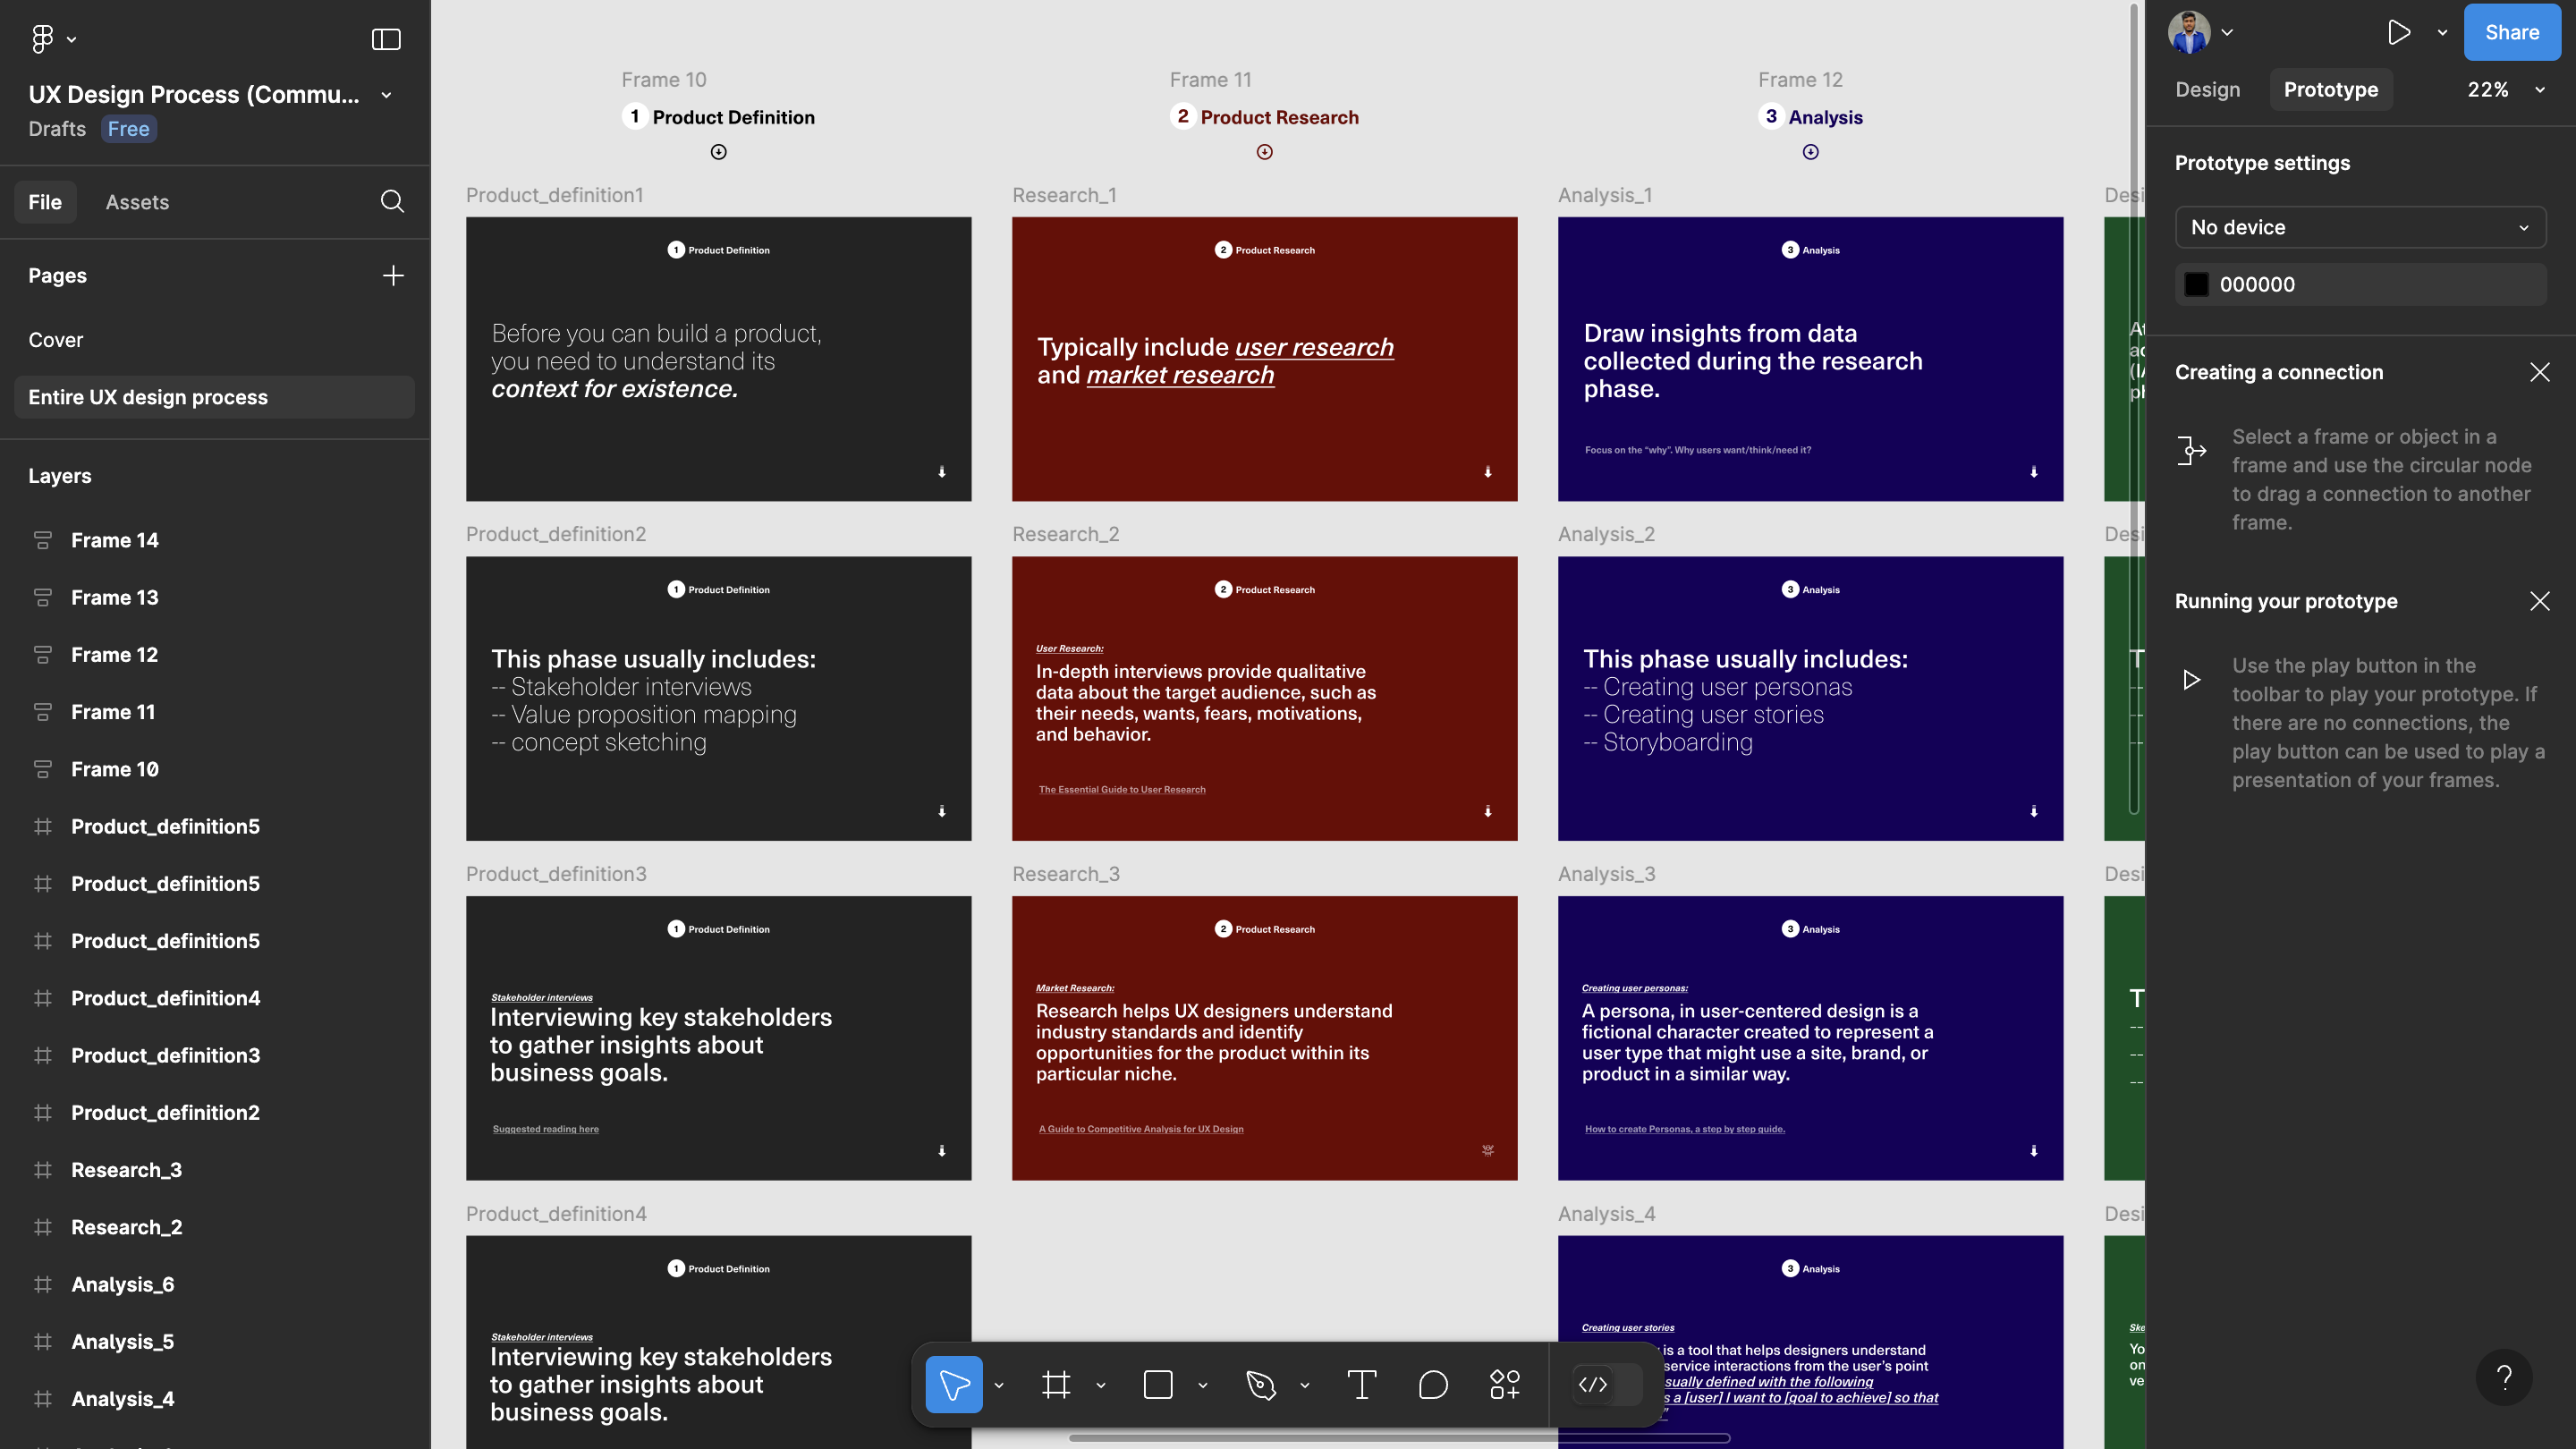
Prototyping Interactive Experiences
Now, this is where the real magic happens! Prototyping in Figma allows you to bring your designs to life.
You can add interactions and animations to simulate how your app or website will actually work. It's like creating a mini-movie of your design! 🎬
You can link different screens together, add button clicks, create transitions, and even use Smart Animate to make your prototypes super smooth and engaging.
This helps you test your designs and see how users will interact with them. Plus, it's a lot of fun! 😄
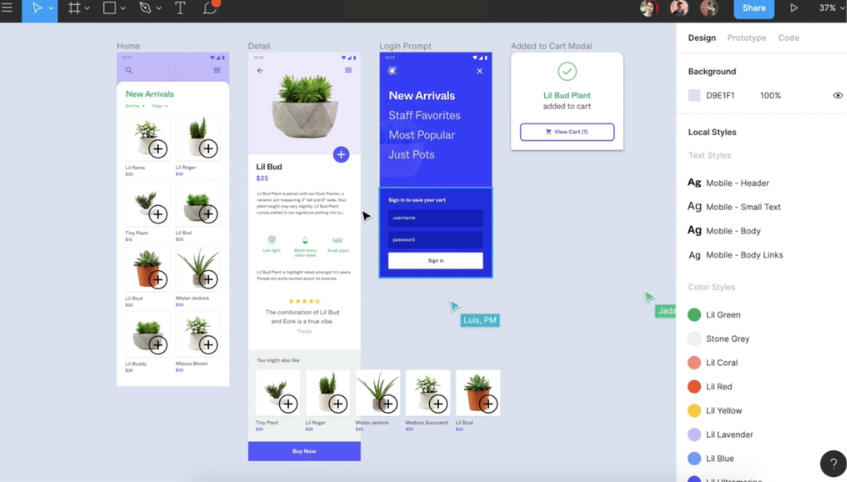
Sharing and Collaboration
Figma is all about teamwork! You can easily share the designs with other designers, developers, and clients.
You can even collaborate on the same design in real time! It's like having a virtual design party where everyone can contribute their ideas. 🎉
This makes it super easy to get feedback, make revisions, & ensure everyone is on the same page.
And when you're ready to hand off your designs to developers, Figma has special features that make the process smooth and efficient.
In the next section, we'll explore some awesome Figma plugins and resources that will help you become even more efficient and creative. Stay tuned!
Collaboration and Design Handoff in Figma
You've designed an amazing app or website in Figma, and now it's time to share it with the world!
This section is all about collaborating with others and making sure your designs are ready for
developers to bring them to life.
Sharing and Collaboration
Figma makes it super easy to share your design file with anyone. You can simply invite your team members, clients, or even your friends to view your work and give you feedback.
You can even work on the same file together in real time! It's like having a virtual design party where everyone can contribute their ideas. 🎉
When sharing your designs, you have control over what others can do. You can let them just view the design, leave comments, or even make edits.
This makes it super easy to get feedback, make revisions, and ensure everyone is on the same page.
Developer Handoff
Once your designs are finalized, it's time to hand them off to the developers who will build the actual app or website.
Figma has some awesome features that make this process smooth and efficient.
Specs: You can generate specs for your designs that provide developers with all the necessary information they need, like measurements, colors, and font styles. It's like giving them a detailed blueprint of your design.
Code Snippets: Figma can even generate code snippets for some design elements, which developers can use to speed up their work.
Exporting Assets: You can easily export your design assets in different formats, like PNG, JPG, or SVG, so developers can use them in their code.
By using these features, you can ensure a seamless handoff to developers and minimize any confusion or errors during the development process.
And hey, speaking of making things easier for developers, have you heard of Buzzy? They have a Figma plugin that can convert your Figma designs into fully functional apps or websites!
It's like magic! ✨ Definitely check them out if you're looking for a fast and easy way to bring your Figma designs to life.
In the next section, we'll explore some must-have Figma plugins and resources that will help you become even more efficient and creative. Stay tuned!
Figma Plugins and Resources
Want to become a Figma power user? Plugins are your secret weapon!
They're like mini-apps that add extra features and superpowers to Figma, making your design workflow even smoother and more efficient.
Must-Have Figma Plugins for UX Designers
Here are a few awesome plugins that every UX designer should check out:
Buzzy: Okay, we've mentioned them a few times already, but for good reason! This plugin is a game-changer. It lets you transform your Figma designs into real, working apps or websites, complete with data and functionality. No coding is required! It's like having a magic wand that brings your designs to life. ✨
User Flow Plugins: These plugins help you create user flows and diagrams to visualize how users will navigate through your app or website. It's like drawing a map of your design to make sure it's clear and easy to follow.
Accessibility Checkers: These plugins help you identify any accessibility issues in your designs, such as low color contrast or missing alt text for images. They're like a helpful friend who points out any areas where your design could be more inclusive.
Content Generators: Need some dummy text or images for your designs? Content generator plugins can help you quickly populate your designs with realistic content. It's like having a team of content creators at your fingertips!
These are just a few examples, and there are tons of other amazing Figma plugins out there. Explore the Figma Community and see what you can find!
Useful Resources for Figma and UX Design
Want to learn more about Figma & UX design? Here are some helpful resources:
Figma's Official Website: This is a great place to find tutorials, articles, and documentation.
Figma Community: Connect with other Figma users, ask questions, and share your work.
UX Design Blogs and Websites: There are so many great blogs and websites that offer valuable insights and resources for UX designers.
Online Courses and Tutorials: Platforms like Udemy, Coursera, & Skillshare offer so many UX design courses.
Remember, learning is a continuous journey! The more you explore and practice, the better you'll become at Figma and UX design.
In the next section, we'll wrap things up with a recap of key takeaways and some words of inspiration. Keep going; you're doing great! 👍
Conclusion
You did it! 🎉 You've reached the end of our Figma journey. High five! 🙌 You've learned the basics and some cool tricks, and now you're ready to design awesome things!
Just remember to keep the user in mind, have fun with Figma, and keep practicing! The more you experiment, the better you'll get. Now, go out there and design amazing things!
✨ Don't be afraid to let your creativity shine. If you need help, check out resources like the Figma
Community and Buzzy plugins.
We can't wait to see what you create! 😄
Frequently Asked Questions
Is Figma really free?
Yes, Figma has a free plan that's perfect for beginners! It gives you access to most of the core features you need to get started with UX design. As your needs grow, you can explore their paid plans for more advanced features and collaboration options.
What's the difference between Figma and Adobe XD?
Both are popular design tools, but Figma is known for its real-time collaboration features and web-based accessibility. Adobe XD is part of Adobe Creative Cloud suite and offers strong integration with other Adobe products. Ultimately, the best tool totally depends on your specific needs and preferences.
Can I use Figma on my iPad?
While Figma doesn't have a dedicated iPad app, you can access and use Figma in your iPad's web browser. The experience might not be as smooth as the desktop version, but it's a handy option for viewing and making minor edits on the go.
How do I learn more about UX design?
There are tons of resources available! You can find online courses, tutorials, & articles on platforms like Udemy, Coursera, and Skillshare. Also, check out UX design blogs, books, and communities to connect with other designers & learn from their experiences.
Is Figma only for UX design?
While Figma is a popular choice for UX designers, it's a versatile tool used for various design purposes. You can use Figma for graphic design, web design, UI design, prototyping, and even brainstorming and creating presentations.